
|
Creating an OAuth Client ID in the Google API Console. |

Open the Google API console to request an OAuth 2.0 client ID.
Select a project or create a new one.
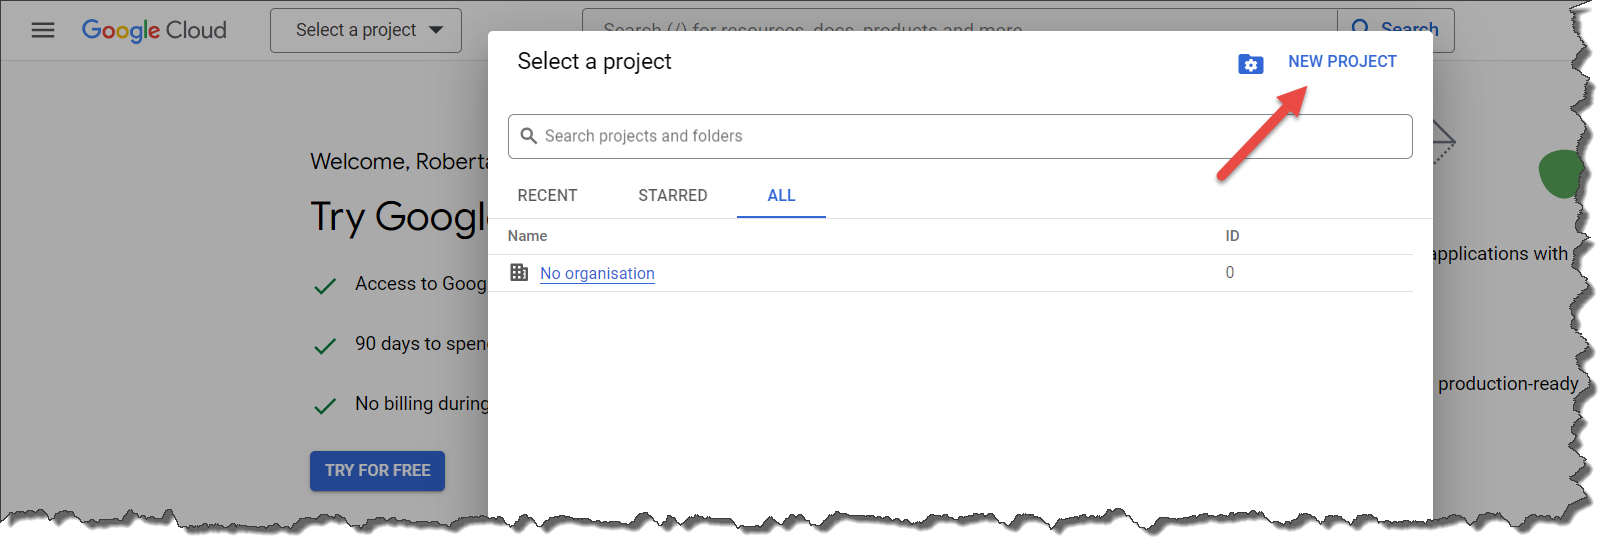
Click the Create button.
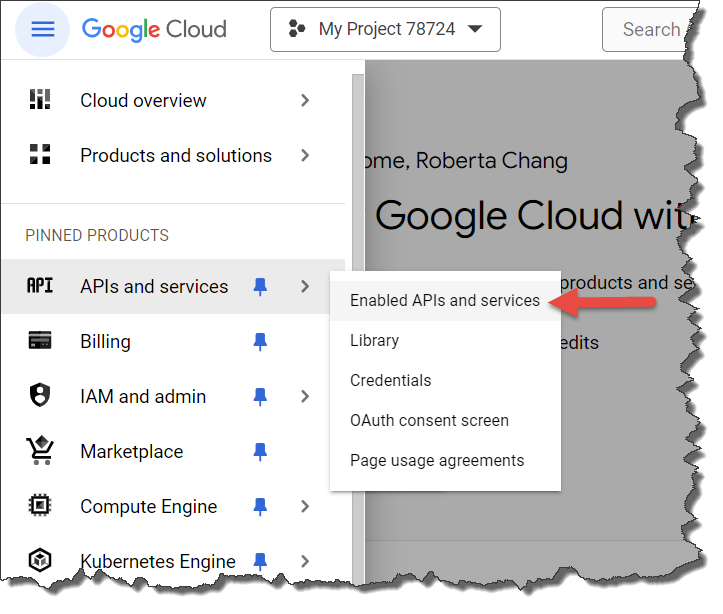
Select the new project from the drop-down near the top left of the screen.
Open the navigation panel from the left menu, expand APIs & Services and select Enabled APIs and services.
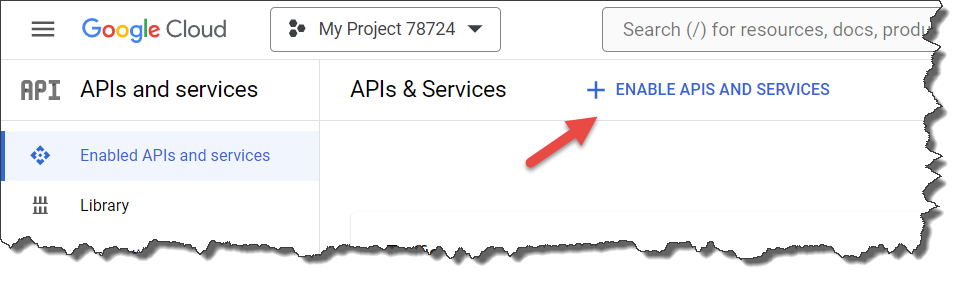
Click the ENABLE APIS AND SERVICES button
Search for and select the specific API you want to use from this area. In our example, we will use the Google Calendar API. Click the Enable button.
Depending on the API selected, billing might also need to be enabled. You can do this from the left menu by clicking Billing and setting up the payment page.
With the API enabled and billing set up, if necessary, the next step is to create credentials.
Open the navigation panel from the left menu, expand APIs & Services and select Credentials.
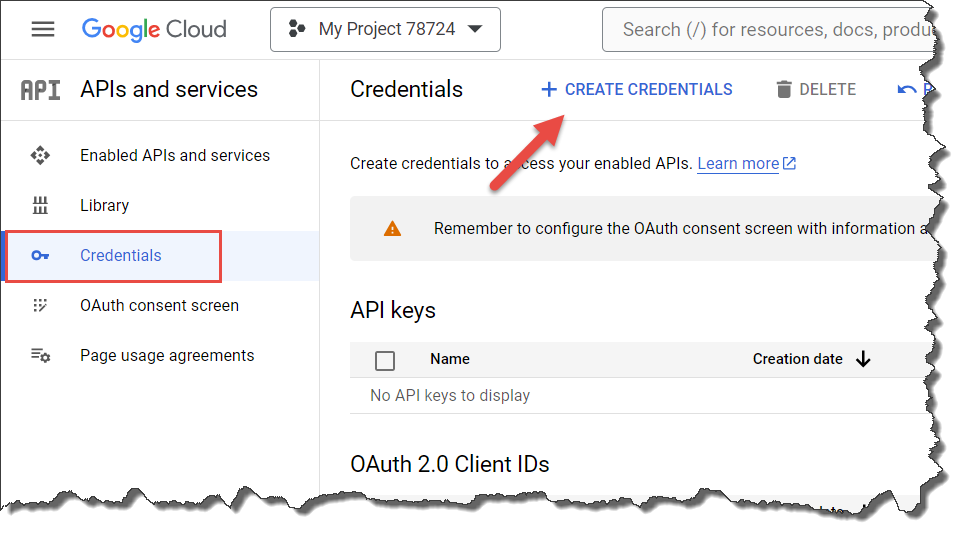
Click the CREATE CREDENTIALS button.
Select OAuth client ID
First, you must configure your consent screen to create an OAuth client ID. To do this, click the CONFIGURE CONSENT SCREEN button.
Select the User Type Internal or External. Note that for the External user type, your app will start in testing mode and will only be available to users you add to the list of test users. Once your app is ready to push to production, you may need to verify your app.
Click the Create button. The OAuth consent screen will open.
Add the mandatory fields, such as app name, user support email, developer contact email, and other non-mandatory fields as required.
Click the SAVE AND CONTINUE Button. The Scopes screen will open.
Click the ADD OR REMOVE SCOPES button.
Select the scopes you want to use and click the UPDATE button.
Click the SAVE AND CONTINUE button. If External User Type is selected, the Test Users page opens; otherwise, the Summary page will open.
If necessary, add test users, then click the SAVE AND CONTINUE button. The summary page will open.
Check the summary page and click the BACK TO DASHBOARD button.
Open the navigation panel from the left menu, expand APIs & Services and select Credentials.
Click the CREATE CREDENTIALS button and select OAuth client ID
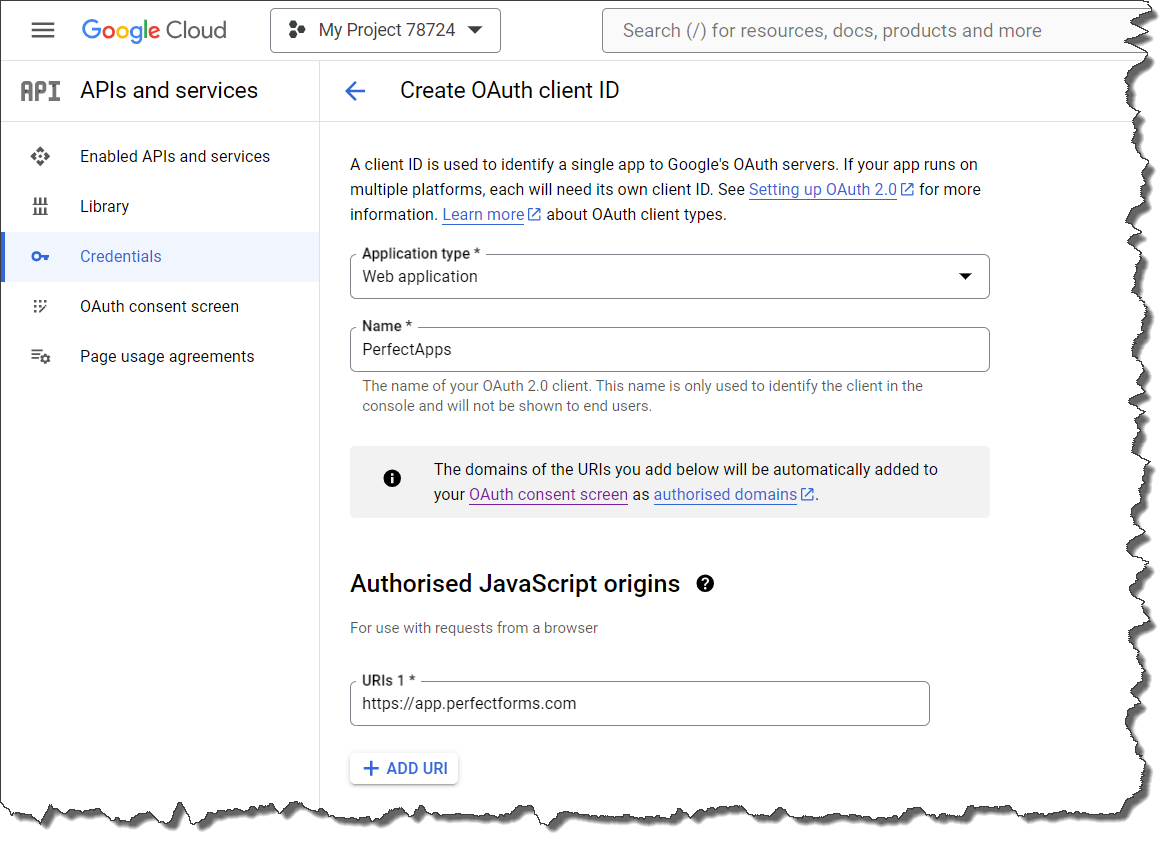
Select Web application from the Application Type drop-down and enter a suitable name.
Click the ADD URI button in the Authorised JavaScript origins section and enter the PerfectApps server name. For the On-Demand version, this will be https://app.perfectforms.com or your server name for the On-Premise version.
Click the ADD URI button in the Authorised redirect URIs section and enter the URL of the PerfectApps app built during the preparation phase.
Click the CREATE button.
From the OAuth Client Created pop-up screen, copy the Client ID and Client secret and save them somewhere safe to use later.
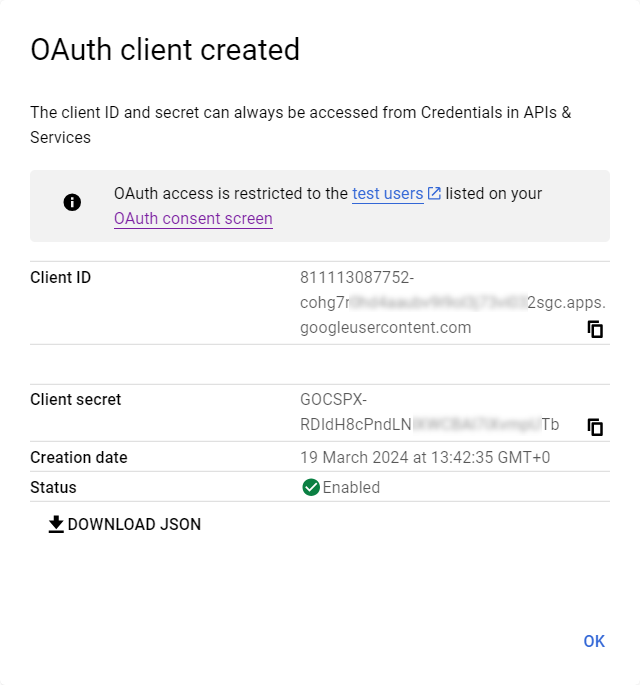
Click OK
With credentials created, you can now build authentication to retrieve the Bearer Token required for any further integration actions.
Next Step: Creating a Google Connection
Return to: Supported REST Web Services, Preparing to integrate with Google
